Sitecore for Developers
Sitecore PXM 8.0: Add a custom task to PXM and InDesign

Background
Sitecore Print Experience Manager (PXM) is great; you can create dazzling printable documents that reuse your existing Sitecore content. You can enable your designers to add a personal touch to each document, or configure automation to allow document creation on the fly.One of the primary components of PXM is its InDesign Connector plugin (IDC). It facilitates communication between Sitecore PXM and InDesign, allowing a designer to:
- add Sitecore content to an existing InDesign document
- create and update PXM Projects, which are a Sitecore representation of an InDesign document
- manipulate master documents, which are essentially InDesign templates
- save content changes directly into Sitecore items
One of its lesser-known features, however, is the ability to execute a custom Task in PXM.
PXM Tasks
A PXM Task is simply a method that can be executed on the Sitecore PXM server from InDesign. It accepts a Dictionary with some parameters and allows you to return a string that will be output in a dialog box in InDesign.
Task Dictionary Contents
The dictionary will contain the following parameters
- ItemID (GUID of the Task item in Sitecore)
- LanguageIndex (int)
- CurrentUserName (logged in user)
- ci_projectPanel (GUID of the item selected in the Project panel)
- ci_contentBrowser (GUID of the item selected in the Content panel)
- ci_libraryBrowser (GUID of the item selected in the Library panel)
- ci_imageViewer (I'm not sure what this does; let me know in the comments!)
- ci_workBox (GUID of the item selected in the Workbox panel)
How To Create and Execute a Custom PXM Task
Create the Task Class
- Create a public class (does not need to inherit any base class or implement an interface)
- Add a method that accepts a Dictionary<string, object> and returns a string
- Do something in your task
- Return whatever text you would like to display in a dialog box in InDesign when the task completes
A simple class example
public class CustomTask{ public string ExecuteTask(Dictionary<string, object> dictionary) { return string.Format("Hello World! You selected {0} in your Project panel.", dictionary["ci_projectPanel"]); }}Create the Task Item in Sitecore
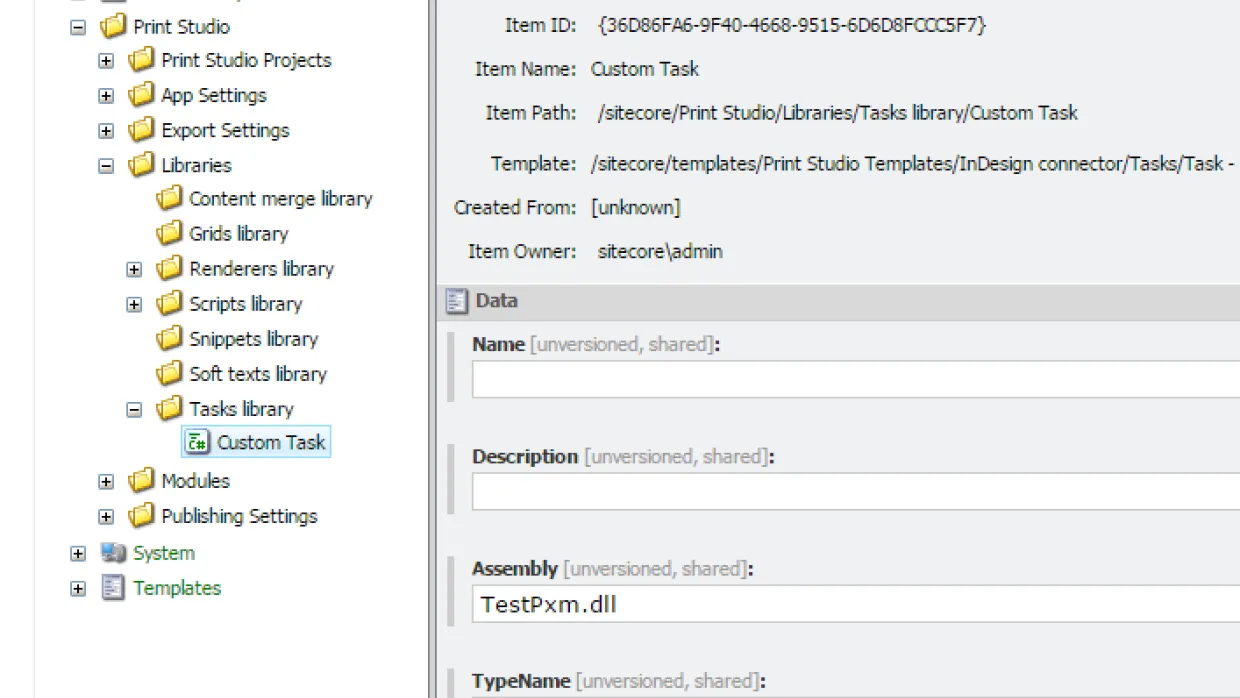
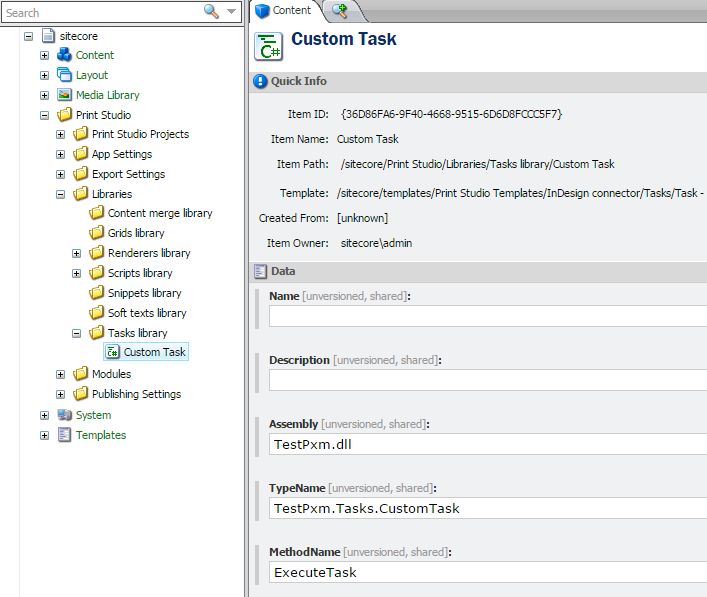
Add the Task item below the /sitecore/Print Studio/Libraries/Tasks library folder and fill in the fields

- Assembly should be the DLL that contains your class (including the file extension, e.g. TestPxm.dll)
- TypeName should be the fully-qualified type name of your class (e.g. TestPxm.Tasks.CustomTask
- MethodName should be the name of the method you created (e.g. ExecuteTask)
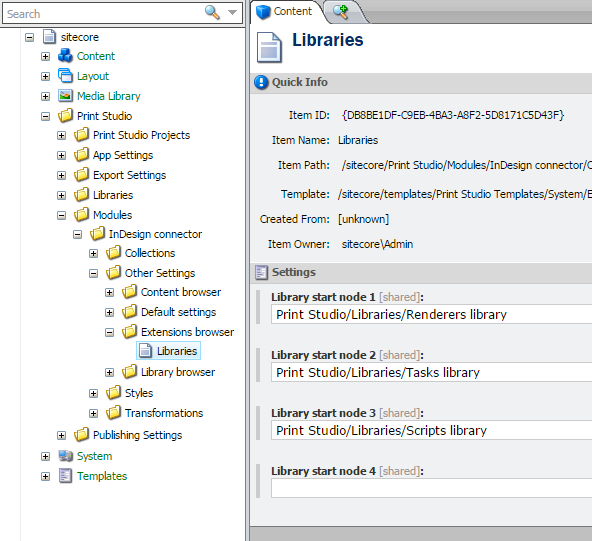
Add the Tasks Library to Your Extensions Browser Library Nodes
- Navigate to /sitecore/Print Studio/Modules/InDesign connector/Other Settings/Extensions browser/Libraries
- Add /sitecore/Print Studio/Libraries/Tasks library in one of the empty nodes

Execute the Task
- Open InDesign and log into Sitecore
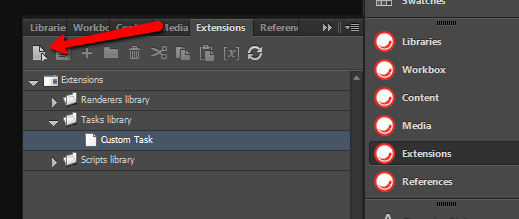
- Open the Extensions panel and select your task
- Click the Load button (the icon with the document and a little arrow on it)
