Sitecore for Developers
Sitecore 9 Commerce Custom Promotion Condition

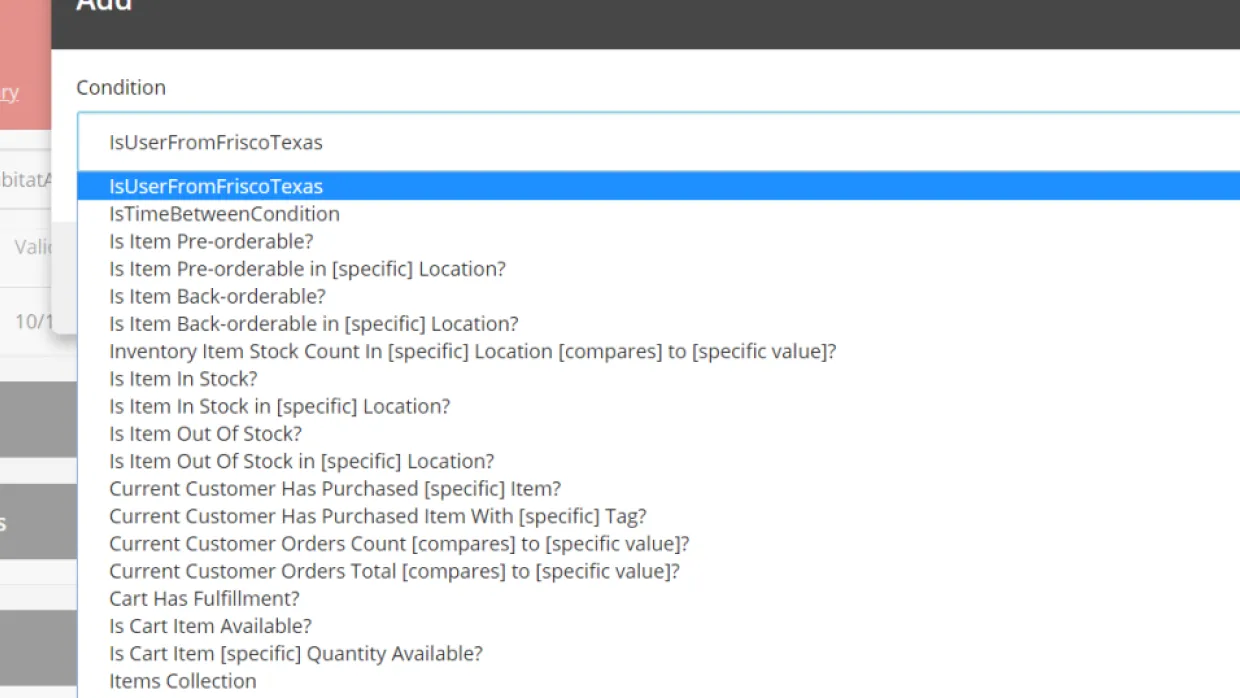
Sitecore Provides out of the box promotion conditions and corresponding out of the box promotion actions based on different conditions such as site visitor, context and conditional renderings. Sitecore commerce promotions will contain two sections namely qualifications and benefits to be added by the business users to be able to make use of it.The qualifications are the conditions that should be met before applying a coupon or promotion to any item in the cart.Benefit is an action which will be applied to the customer cart as a result of the satsfying the condition.There will be some business requirements which shall make us create a custom condition such as when the custome is in zip code "75035".Now this condition is not provided out of the box by sitecore. we need to extend the promotion plugin by writing a custom condition.Custom condition is a promotion plugin which is a .NET class and will implement ICondition interface.The screenshot below shows qualifications panel where the conditions are added.

Note - This blog is written based on Sitecore version 9.0 update 1 and .Net version 4.6.2.Other versions may have different code/sitecore navigation.Now lets create a custom promotion condition which can be added as qualification in promotion.Follow the steps below to create a custom condition.
- Create visual studio extension by clicking Sitecore.commerce.Plugin.vsix from Sitecore.Commerce.Engine.SDK.x.x.xx verision.
- Now,Open the default solution by clicking on Customer.Sample.Solution.sln.
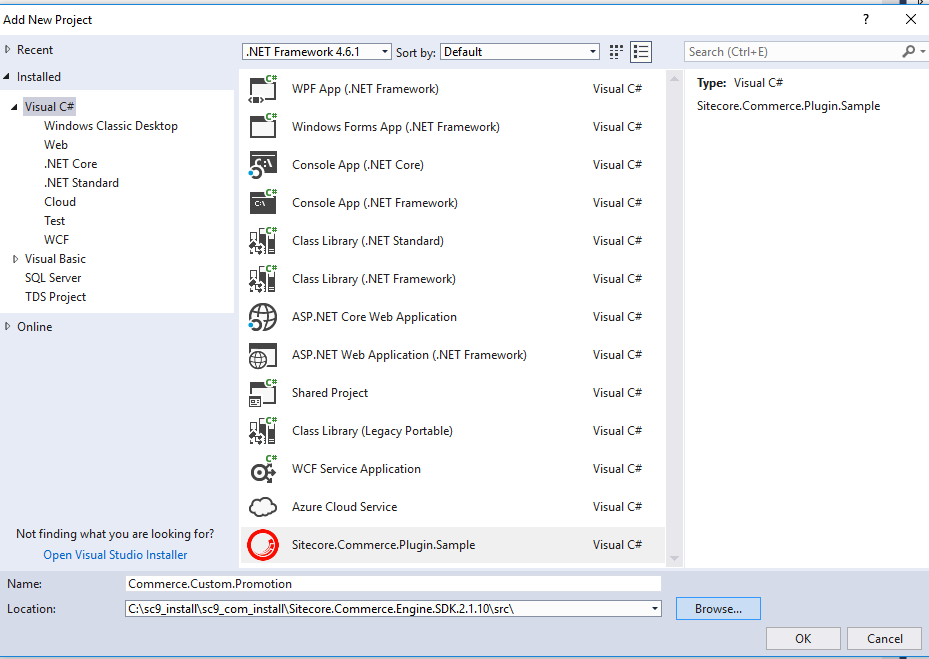
- Create a Sitecore plugin promotion condition

- Add the newly created project to the Sitecore.Commerce.Engine project which was already existing.

- Install Sitecore.Commerce.Plugin.Carts and Sitecore.Commerce.Plugin.Orders packages from Sitecore_Commerce nuget package.

- Add the custom promotion code to check for condition if the user is from zipcode "75035".
using Sitecore.Commerce.Plugin.Rules;using Sitecore.Framework.Rules;using System;namespace Sitecore.Commerce.Plugin.Sample.Conditions{ [EntityIdentifier("IsUserFromFriscoTexas")] public class IsUserFromTexas : ICondition { public bool Evaluate(IRuleExecutionContext context) { string currentUserZipCode = Sitecore.Analytics.Tracker.Current.Interaction.GeoData.PostalCode; return currentUserZipCode == "75035" ? true : false; } }}
- Now, Run dotnet.exe to generate the commerce engine site files. The following screenshot shows how to do that.
Run “dotnet.exe restore Customer.Sample.Solution.sln” on the project folder like shown below.

- Publish the output files to output folder in the solution to do that ,run the following script.
C:\sc9_install\sc9_com_install\Sitecore.Commerce.Engine.SDK.2.1.10>dotnet.exe publish Customer.Sample.Solution.sln -o .\output

- The output files will be generated “\Sitecore.Commerce.Engine.SDK.2.1.10\src\Sitecore.Commerce.Engine\output”.Copy all the files except wwwroot folder and place them in “C:\inetpub\wwwroot\CommerceAuthoring_Sc9”.May need to do an IIS reset if it says “file is open”
- We are not done yet, we need to configure the custom promotion condition in Sitecore.
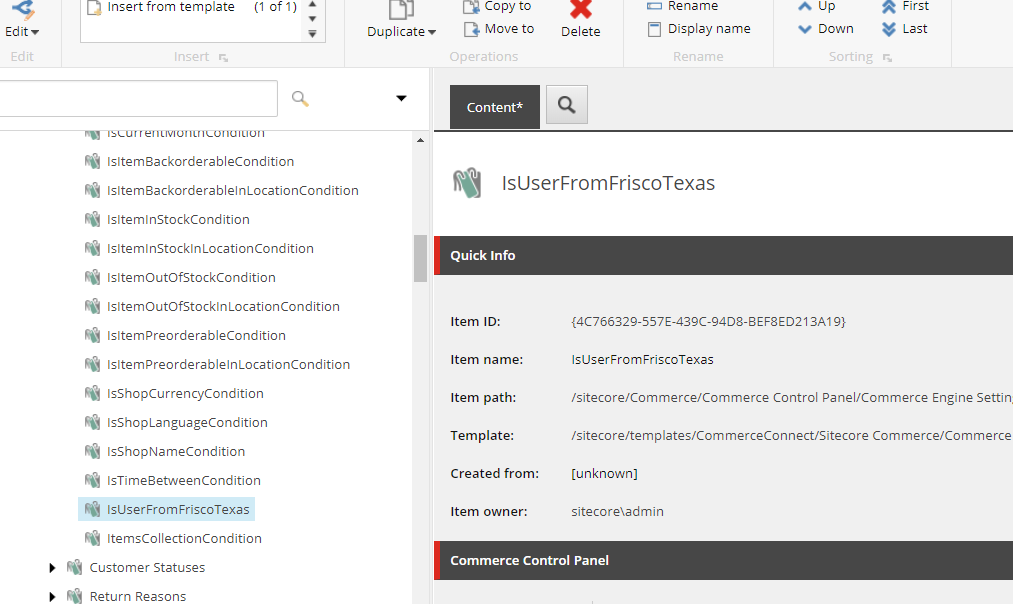
- Navigate to Sitecore path – ‘/sitecore/Commerce/Commerce Control Panel/Commerce Engine Settings/Commerce Terms/BusinessTools/Conditions’ and add the condition with ‘Commerce term template’

- Now, navigate to business tools and promotions to see the new condition added from this tutorial.